How to Repair Drywall Holes Without a Mess
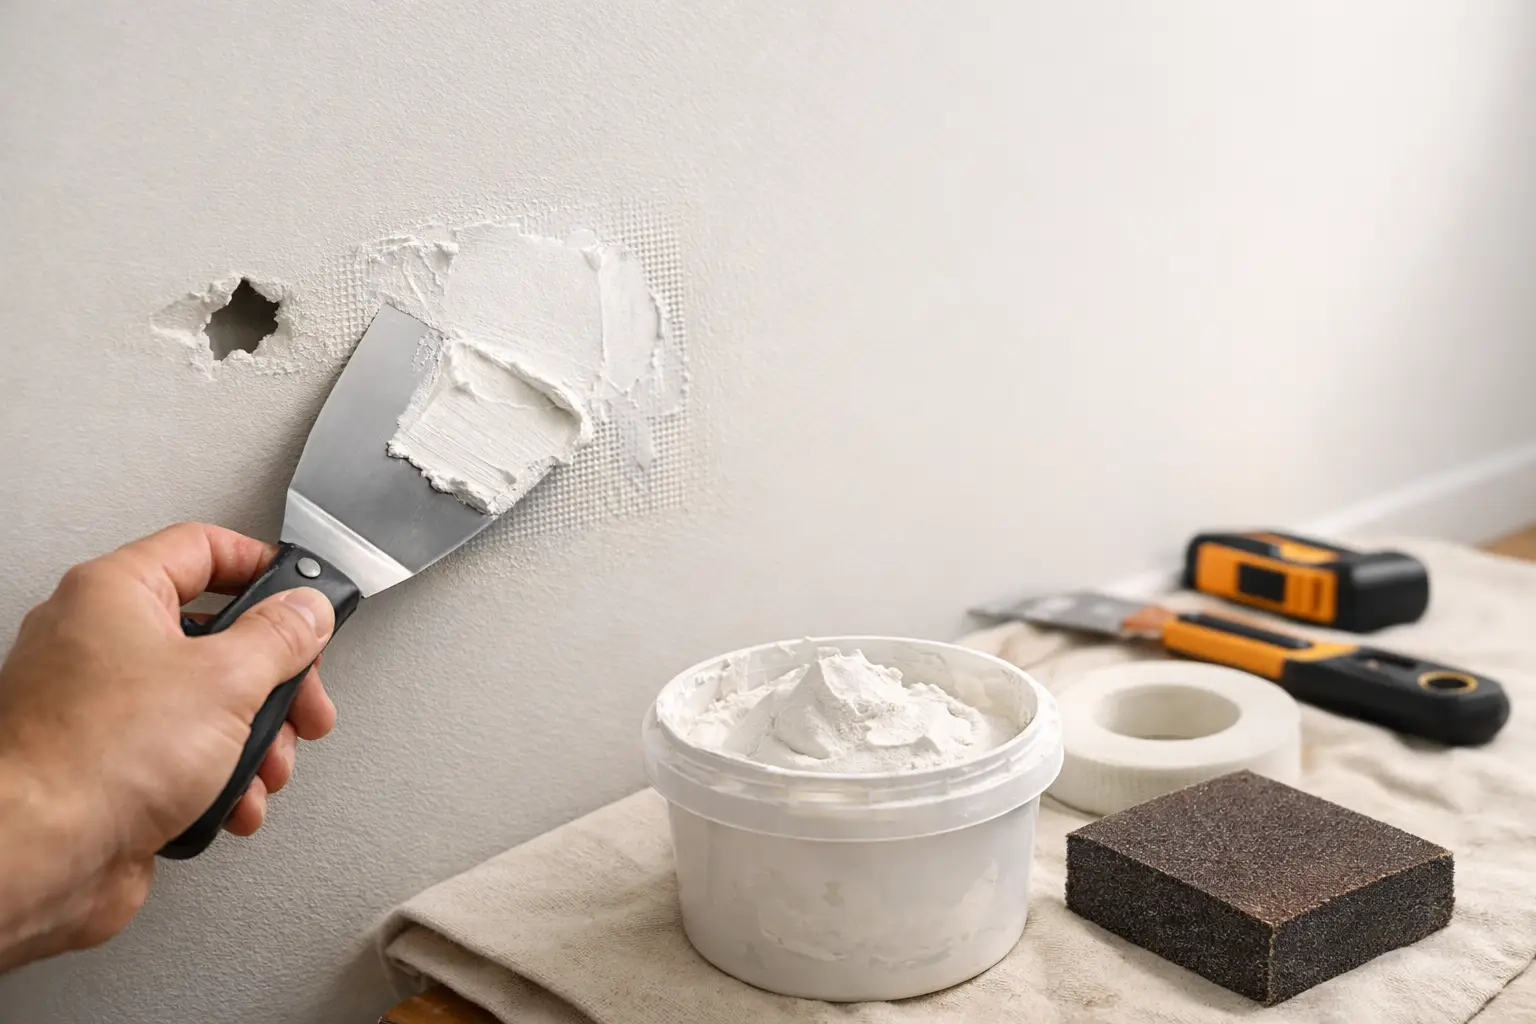
A doorknob pushed through a wall, a picture hanger pulled loose, or a moving-day mishap can leave a room looking unfinished fast. Knowing how to repair drywall holes helps homeowners decide whether a quick patch will do or whether the wall needs a more substantial repair. The right method depends less on the hole itself than on its size, location, and what is behind the drywall.
A small nail hole can often disappear with a fingertip of spackle. A larger opening needs support behind the wall, careful taping, and more than one coat of joint compound. Rushing the process is what usually creates the visible bump, ridge, or uneven paint sheen homeowners notice later.
Start by Checking the Hole and the Wall
Before reaching for patching material, look closely at the damage. Make sure the drywall around the hole is firm and dry. If the area feels soft, stained, crumbly, or damp, there may be a moisture problem that needs attention before cosmetic repairs begin. Patching over water-damaged drywall can trap the real issue and lead to another repair soon after.
Also consider the hole's location. A hole near an outlet, switch, plumbing line, or HVAC vent deserves extra caution. Turn off power at the breaker before working near electrical boxes, and do not cut into a wall unless you are reasonably sure what may be behind it.
For most everyday damage, drywall holes fall into three practical categories: small nail and screw holes, medium holes up to several inches wide, and larger holes that require a new piece of drywall. Each calls for a different approach.
How to Repair Drywall Holes From Nails and Screws
Small holes from nails, screws, and wall anchors are the simplest repairs. Remove any loose paper or crumbling gypsum around the opening. If an anchor is still in the wall, pull it out if possible. Pushing a stubborn anchor deeper into the cavity may be appropriate only when it will not interfere with the patch.
Apply lightweight spackle or joint compound with a putty knife, pressing the material into the hole rather than merely covering its surface. Scrape away the excess so the patch sits nearly flush with the wall. After it dries, lightly sand the area with fine-grit sandpaper.
One coat is often enough for a pinhole, but a deeper anchor hole may shrink as it dries and need a second thin coat. Avoid applying a thick mound of compound. It takes longer to dry, is harder to sand, and can leave a raised spot that shows through paint.
A note about paint touch-ups
Even a smooth patch can stand out if the paint does not match. Walls fade, collect dust, and change slightly over time, especially in rooms with sunlight. Use leftover paint when available, and feather it beyond the repair rather than painting only a small dot. On older walls, repainting the full section from corner to corner may provide the most consistent result.
Repairing Medium Drywall Holes With a Patch
Holes roughly one to six inches wide usually need more support than compound alone can provide. A self-adhesive mesh patch is a practical option for many clean, flat openings. Center the patch over the hole, press it firmly to the wall, then cover it with joint compound using a wide drywall knife.
The key is feathering. The first coat should cover the mesh and extend a few inches past the patch. Let it dry completely, sand only the high spots, and apply a second wider coat. A third thin coat may be needed to make the repair blend into a smooth wall.
Mesh patches save time, but they are not always the best answer. They can leave a noticeable raised area when used on a textured wall or when the hole is in a highly visible place. For a cleaner, flatter repair, a drywall plug or a backing-board repair often produces better results.
A drywall plug is a small piece of drywall cut slightly larger than the opening. Trace it on the wall, cut the damaged area into a neat square or rectangle, and fit the new piece into the opening. With solid backing behind it, the plug can be screwed in place, taped at the seams, and finished with joint compound.
Fixing Large Holes the Right Way
A large hole, such as damage from a door handle, a removed vent, or an accident during a remodel, should be cut back to sound drywall. An irregular opening is difficult to patch cleanly, so square it up with a drywall saw or utility knife. Keep the opening as small as practical while removing all broken edges.
Install wood backing strips inside the wall opening. The strips should extend several inches beyond each side of the hole, giving the new drywall piece a firm surface to rest against. Hold the backing in place and drive drywall screws through the existing wall into the strips.
Cut a replacement piece of drywall to fit the opening with small, even gaps at the edges. Secure it to the backing strips with drywall screws, setting the screw heads just below the surface without breaking the paper face. Cover the seams with paper drywall tape and apply a thin coat of joint compound.
Paper tape takes a little more care than adhesive mesh, but it is often the stronger choice for seams in a large repair. Embed it fully in compound, remove air bubbles with the drywall knife, and allow it to dry before adding wider coats. Two or three thin coats are more reliable than one heavy coat.
Sanding and Texture Make the Difference
Most drywall repairs fail visually at the finishing stage, not the patching stage. Sanding should level ridges and knife marks without digging into the paper surface or exposing tape. Use a fine sanding sponge, work gently, and shine a light across the wall at an angle to reveal high and low areas.
Wipe away dust before priming. Drywall compound absorbs paint differently than painted wallboard, so a primer coat over the repaired area helps prevent flashing, which is the dull or shiny spot that appears after paint dries.
If your wall has orange peel, knockdown, or another texture, the patch must match it before painting. Texture products can help with small areas, but matching an older wall is rarely exact on the first try. Test the technique on cardboard or a hidden wall section first. A heavily textured wall or ceiling may be better handled by a professional, particularly when the repair is in a prominent room.
When a Drywall Repair Is Better Left to a Professional
DIY repair makes sense for small, dry, accessible holes when you have time for several drying and finishing steps. It may not be the best use of your weekend if the damage is large, repeated, water-related, or near wiring and plumbing.
Professional help is also worthwhile when the wall has significant texture, the repair involves a ceiling, or you need the finished area to blend with a recently remodeled room. A proper repair includes more than covering the opening. It means stabilizing the damaged area, building a flat surface, matching the surrounding finish, and leaving the room clean when the work is done.
For homeowners in Tallahassee, Marianna, Dothan, and nearby communities, Sola Handyman Services can handle drywall patching along with the paint touch-ups and home repairs that often come with it. A clean wall repair is a small detail, but it can make the entire room feel maintained again.