How to Patch Wall Damage the Right Way
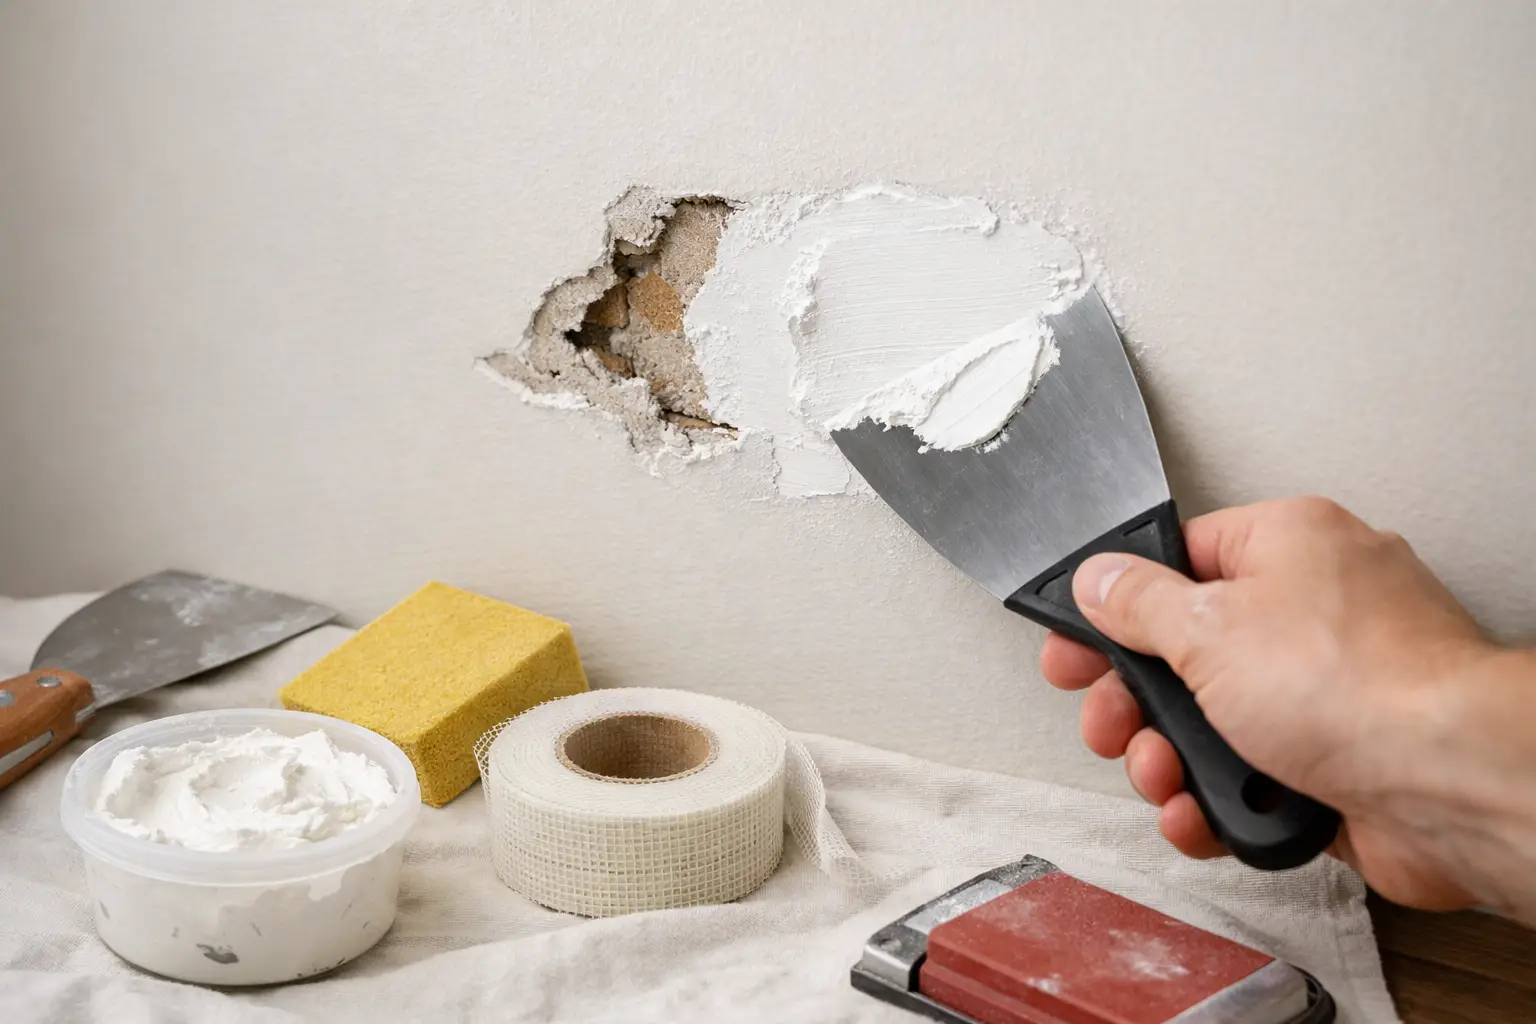
That scuffed hallway corner, the doorknob hole in the guest room, the anchor pull-out behind the TV - wall damage has a way of making the whole room look more worn than it really is. If you are looking up how to patch wall damage, the good news is that most repairs follow a straightforward process. The catch is that the right fix depends on what caused the damage, how deep it goes, and whether you are dealing with drywall, plaster, or a previous bad repair.
For homeowners, the main goal is not just covering the spot. It is getting the wall flat, solid, and ready for paint so the repair does not stand out every time the light hits it. A quick patch can work for minor blemishes, but larger or repeated damage usually needs a more careful repair if you want it to last.
How to patch wall damage based on the type of problem
Not all wall damage should be treated the same way. A nail hole is a cosmetic issue. A crumbling corner, water-stained drywall, or a hole that flexes when pressed points to a bigger repair.
Small holes from nails, screws, or picture hangers are usually the simplest fixes. These can often be filled with lightweight spackle or joint compound, sanded smooth, and painted. If the hole is wider than a typical screw hole, mesh tape or a small patch may help keep the filler from cracking later.
Medium damage, such as dents, popped drywall anchors, or holes a few inches across, usually needs more structure. In those cases, a self-adhesive wall patch or mesh patch is often the cleanest solution. The patch gives the compound something to bond to and helps bridge the damaged area without sagging.
Large holes are different. If drywall is broken between studs, or the damaged section feels loose, the best repair is often cutting out the damaged portion and installing a new drywall piece. That takes more time, but it gives you a solid surface instead of trying to build a repair on weak material.
Then there is the issue of moisture. If the wall damage came from a plumbing leak, roof issue, or repeated humidity exposure, patching alone will not solve the problem. The source of the moisture has to be corrected first, or the wall will likely stain, soften, or fail again.
What you need before you start
Most wall patching jobs use a basic set of materials: putty knife, sanding sponge or fine sandpaper, joint compound or spackle, primer, and matching paint. Depending on the damage, you may also need mesh tape, a wall repair patch, utility knife, drywall saw, backing support, and replacement drywall.
The tools matter less than the prep. Loose paint, crumbling drywall paper, and dust will weaken the repair. Before you apply anything, clean the area, remove soft edges, and make sure the surrounding wall is stable. A patch only performs as well as the surface under it.
If your wall has texture, plan for that before you start. Smooth walls are easier to blend. Orange peel, knockdown, and hand-troweled finishes take extra steps, and that is often where DIY repairs become visible even when the hole itself is filled properly.
Repairing small holes and surface dents
For minor wall damage, keep the repair simple. Use a putty knife to apply a thin layer of spackle over the hole or dent, pressing firmly so the filler gets into the damaged area. Then smooth the surface and let it dry fully.
One common mistake is trying to finish the repair in one heavy coat. Thick filler shrinks as it dries and can leave a low spot or hairline crack. Two light applications usually produce a better result than one heavy pass.
Once dry, sand lightly until the patch is flush with the wall. Run your hand across it rather than relying only on sight. If you can feel the edge, it may still show after paint. After sanding, wipe away dust, apply primer, and repaint the area.
Patching medium holes in drywall
This is where a lot of homeowners search again for how to patch wall damage, because the repair starts to feel less forgiving. A hole from a wall anchor, accidental impact, or rough furniture move may be too large for filler alone but not large enough to justify replacing a whole drywall section.
A mesh wall patch is often a practical solution. Center the patch over the hole, then apply joint compound in thin layers over and around it, feathering the edges outward so the patch blends into the surrounding wall. Let each layer dry before sanding and applying the next.
Feathering matters here. If you keep the repair area too tight, you end up with a raised square on the wall. Extending the compound a few inches beyond the damage helps the repair disappear once primed and painted.
If the hole has broken or loose drywall around the edges, trim those sections first. Trying to patch over damaged material usually leads to cracking or a soft spot later.
Fixing larger holes the stronger way
For larger wall damage, the stronger approach is to cut out the failed section and replace it. Start by cutting a neat square or rectangle around the damaged area. Then install backing support behind the opening if needed, cut a new drywall piece to fit, and fasten it securely.
After that, tape the seams and apply joint compound in multiple coats, allowing each coat to dry before sanding and reapplying. This takes longer than using a surface patch, but it creates a much more durable repair.
The trade-off is time and finish work. Structural patching is stronger, but it also demands more precision. Bad cuts, uneven backing, or rushed mudding can leave you with a repair that is solid but still clearly visible. In many homes, especially in main living areas, appearance matters as much as strength.
When the wall texture and paint are the hard part
A lot of patch jobs fail at the final stage, not because the hole was repaired poorly, but because the finish does not match. Fresh compound absorbs paint differently than the surrounding wall, which is why primer is not optional. Without it, the patch can flash through the paint as a dull or uneven spot.
Matching paint can also be tricky if the existing wall color has faded or if the original paint sheen was eggshell, satin, or semi-gloss. Even a good patch may stand out if the touch-up paint does not blend. In some rooms, painting corner to corner gives a better final result than touching up one spot.
Texture adds another layer. A smooth patch on a textured wall will draw attention immediately. You may need a texture spray, stipple technique, or hand-applied finish to recreate the surrounding surface. That part takes some judgment, and there is no one-size-fits-all method.
When patching wall damage is not a DIY job
Some repairs are manageable. Others are better left to a professional, especially when the damage is widespread, repeated, or tied to another issue. If the drywall is wet, moldy, sagging, or damaged near electrical or plumbing lines, the repair should start with a full assessment.
The same goes for settlement cracks that keep coming back, holes in high-visibility areas, and repairs where matching the wall finish matters. A patch that technically works but looks obvious is still a frustrating result.
For homeowners in Tallahassee, Marianna, Dothan, and nearby communities, professional help can save time and avoid the cycle of patching, sanding, repainting, and still not being happy with the wall. Sola Handyman Services handles practical wall repairs with the kind of finish work homeowners expect in lived-in spaces, not just on paper.
Common mistakes that make wall patches stand out
Most visible repairs come back to a handful of issues. The damaged area was not cleaned properly, the filler was applied too thick, the patch was not feathered wide enough, or the repair was painted without primer. Sometimes the problem is simply rushing dry time.
There is also the issue of using the wrong material. Spackle, joint compound, patch kits, and setting compounds all have their place. A small picture-hanger hole does not need the same approach as a broken drywall section. Using a lightweight filler for a larger structural void may look fine at first and fail later.
If the wall has suffered repeated impacts, it is worth asking why. A doorstop, better furniture spacing, or relocating a mounted item may prevent the same repair from being needed again.
A good wall repair should disappear into the room, not ask for attention. If you take the time to match the repair method to the actual damage, the result is usually cleaner, stronger, and far less likely to need another fix a few months down the road.