How to Install Ceiling Fan Safely at Home
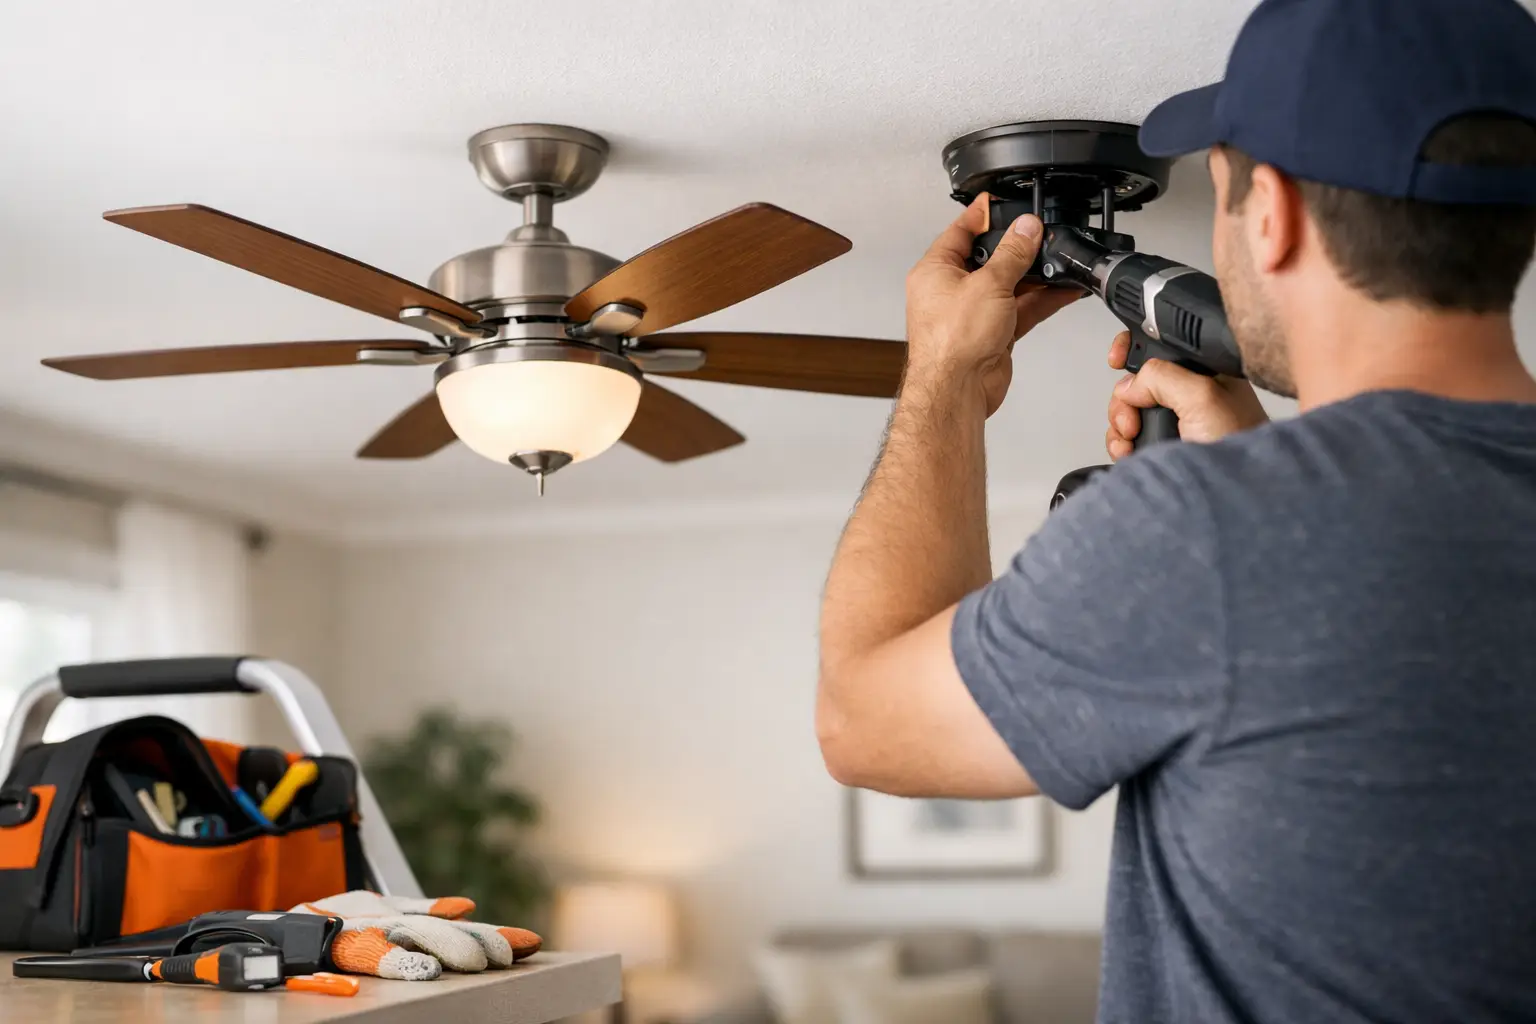
A ceiling fan can make a Tallahassee summer room feel more comfortable, improve air circulation year-round, and update the look of a bedroom or living area. But learning how to install ceiling fan equipment safely starts with one critical question: is the existing ceiling box designed to support a moving fan? A light fixture may be light enough for a standard box, while a fan creates weight and vibration that require stronger support.
If you are replacing an existing fan on a properly rated box, the work may be manageable for an experienced homeowner. If you are adding a fan where no fixture exists, working with older wiring, or seeing signs of damage, professional help is the safer choice.
Before You Install a Ceiling Fan, Check the Support
Do not assume the electrical box in the ceiling is fan-rated just because a light fixture was already there. Ceiling fans must attach to a box marked for fan support, typically rated to hold the weight and movement of a fan. The box should be securely fastened to a ceiling joist or an approved fan brace installed between joists.
Turn off power at the circuit breaker before removing the old fixture. Then use a non-contact voltage tester at the wires in the ceiling box. Switches can be mislabeled, and turning off the wall switch alone does not make the wiring safe to handle.
Once power is confirmed off, remove the old fixture and inspect the box, mounting screws, and surrounding ceiling. Stop and arrange for repair if the box is loose, cracked, plastic and not fan-rated, or attached only to drywall. A fan can eventually pull a weak box free, damaging the ceiling and creating an electrical hazard.
Also check the fan’s location. For best airflow, blades should generally be at least 7 feet above the floor and have adequate clearance from walls, cabinets, and doors. Rooms with lower ceilings may need a flush-mount fan, while vaulted ceilings may require a longer downrod. Outdoor fans need a damp-rated or wet-rated model based on how exposed the location is to moisture.
Tools and Materials to Have Ready
Read the manufacturer’s instructions before opening the hardware bags. Fan kits vary, particularly when they include remote controls, integrated LED lights, angled-ceiling hardware, or special mounting systems.
Have a ladder that lets you work securely without overreaching, a screwdriver set, wire stripper, voltage tester, pliers, electrical tape, and the wire connectors supplied with the fan. You may also need a drill, drill bits, a stud finder, and an approved fan-rated brace or replacement box. Keep the hardware sorted as you work. Using the wrong screws in a mounting bracket is an easy mistake that can affect the installation’s strength.
How to Install Ceiling Fan Step by Step
1. Shut off and verify the power
Turn off the circuit breaker serving the existing light or ceiling box. Use your voltage tester on every wire in the box before touching or disconnecting anything. If you find multiple cables, unidentified wires, or voltage when the breaker is off, do not continue until the circuit has been properly identified.
Take a clear photo of the existing connections before removing them. This can be useful when a single switch controls the fixture or when you are replacing a fan that had separate light and fan controls.
2. Install a fan-rated box if needed
If the current box is not rated for a ceiling fan, replace it before mounting anything. In accessible attic spaces, a fan-rated box can often be fastened directly to a joist. Where attic access is limited, an expandable fan brace may be installed through the ceiling opening between joists.
This is the part of the project where many homeowners benefit from calling a handyman or electrician. The correct support method depends on framing, ceiling material, fixture weight, and local code requirements. A solid mounting point is not optional.
3. Attach the mounting bracket
Secure the mounting bracket supplied with the fan to the fan-rated box using the manufacturer-provided screws. Tighten the screws firmly, but do not strip the threads. The bracket carries the fan’s full weight, so it should sit flat and stable against the ceiling.
If the fan has a downrod, assemble the motor housing and downrod on the floor first. Make sure the retaining pin and set screw are both installed as directed. Missing either one can allow the downrod to loosen over time.
4. Connect the wiring carefully
Most residential fan installations use a black hot wire, white neutral wire, and bare copper or green ground wire. A fan with a light kit may have an additional blue wire for the light. Wire colors can differ in older homes, so color alone is never a substitute for testing and understanding the circuit.
Connect the house ground wire to the fan’s green or bare ground wire and the grounding screw on the bracket if required. Connect neutral to neutral, usually white to white. Connect the fan’s hot wire to the switched hot wire from the home. Follow the fan’s wiring diagram exactly, especially when connecting a remote receiver or separate wall controls.
Use approved wire connectors, tug each connection gently to confirm it is secure, and tuck the wires carefully into the box without pinching them. Do not force a crowded bundle into a shallow box. If the connections will not fit safely, the box may need to be replaced with a deeper fan-rated model.
5. Hang the fan motor and finish the assembly
Many fans include a hook on the mounting bracket that temporarily supports the motor while you make wire connections. Once the wiring is complete, lift the canopy into place and secure it to the bracket. Confirm that it fits snugly and does not pinch the wires.
Install the blade brackets and blades using the included screws. Tighten each screw evenly. If the fan includes a light kit, install it only after the motor housing and blades are secure. Then add bulbs that do not exceed the fixture’s stated wattage, or install the supplied LED module.
6. Restore power and test for safe operation
Turn the breaker back on and test the fan at each speed. Test the light, wall switch, and remote control if included. The fan should start smoothly without scraping, clicking, humming excessively, or shaking.
A small amount of movement can be normal, but noticeable wobbling is not. First, confirm every blade screw and blade bracket screw is tight. Then check that all blades are at the same height and that no blade is warped. Most fan kits include a balancing clip and adhesive weights for fine adjustments.
Common Ceiling Fan Installation Problems
A fan that will not turn on may have a loose neutral connection, an incorrectly wired remote receiver, a tripped breaker, or a wall control that is incompatible with the fan. A fan that runs only at one speed may have a receiver, pull-chain, or switch wiring issue.
Wobbling usually comes from uneven blades, loose hardware, or an unstable mounting box. Do not try to solve severe wobbling by adding extra screws through the canopy or tightening random parts. Turn off the power and inspect the bracket and box support first.
If the fan makes a persistent electrical buzzing sound, smells hot, trips a breaker, or causes lights on the same circuit to flicker, stop using it. These symptoms can point to a wiring or circuit problem that needs qualified attention.
When to Call a Professional
Ceiling fan installation is best left to a professional when a new electrical box, new switch, new circuit, structural repair, or attic work is involved. The same applies to high ceilings, heavy fans, vaulted ceilings, damaged wiring, aluminum wiring, or older homes where the electrical setup is unclear.
Sola Handyman Services helps homeowners in Tallahassee, Marianna, Dothan, and nearby communities with practical home upgrades and repairs, including secure fixture mounting and related improvement work. Having the fan installed correctly protects the ceiling, the wiring, and the comfort of the room.
A properly installed ceiling fan should feel quiet, steady, and almost unnoticed while it does its job. If any part of the support or wiring gives you pause, choosing skilled help is a sensible way to keep a simple upgrade from becoming a larger repair.