How to Stop Faucet Leaks Before They Cause Damage
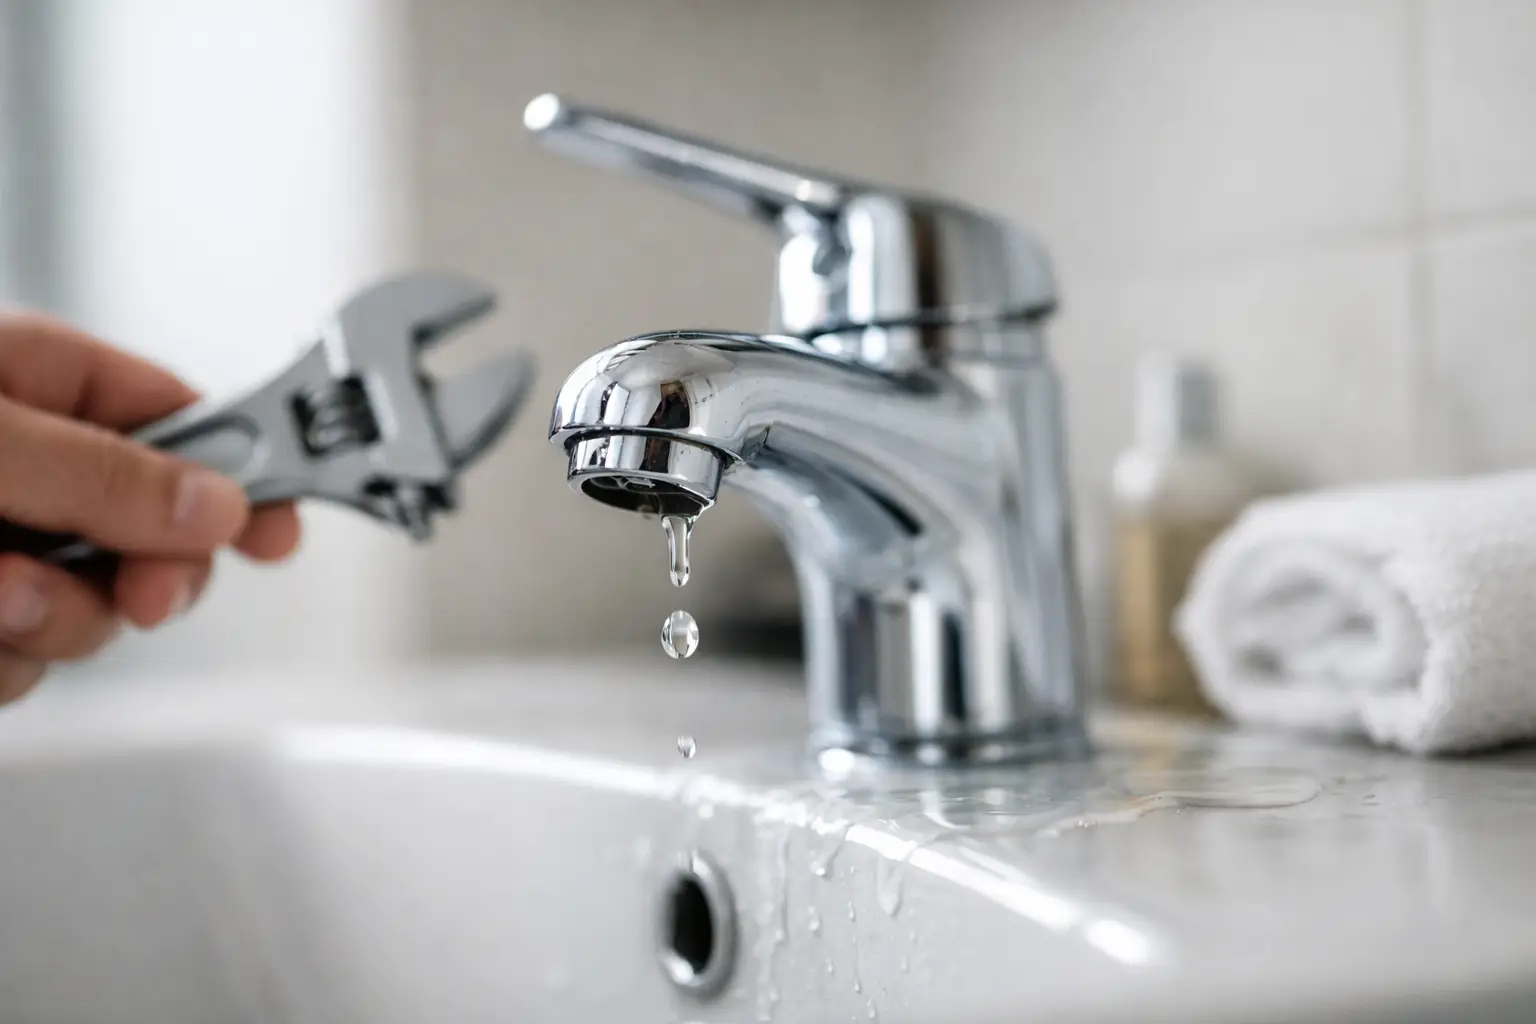
A faucet that drips once every few seconds may seem like a minor annoyance, but the sound usually means a part inside the fixture is no longer sealing correctly. Learning how to stop faucet leaks starts with identifying where the water is coming from. The right repair can be simple, but using the wrong replacement part or overtightening a fitting can turn a small issue into a damaged faucet, cabinet, or countertop.
For homeowners in Tallahassee, Marianna, Dothan, and nearby communities, a prompt repair helps avoid wasted water, higher utility bills, and the moisture damage that can develop under a sink. Here is how to assess the leak, handle a basic repair safely, and recognize when it is time to bring in professional help.
Find the Source of the Faucet Leak
Before taking anything apart, dry the faucet and surrounding area with a towel. Then run both hot and cold water, move the handle through its full range, and watch closely. A leak from the spout has a different cause than water gathering around the handle, at the base of the faucet, or below the sink.
A drip from the spout after the faucet is turned off usually points to a worn internal seal. Depending on the faucet style, that may be a rubber washer, O-ring, cartridge, ceramic disc, or valve seat. A leak around the handle often means an O-ring, packing nut, or cartridge seal has worn down.
Water appearing around the base of the faucet may be caused by deteriorated seals beneath the fixture. It can also be water running down from the handles or a loose connection below the sink. If water only appears when the faucet is running, inspect the supply lines, shutoff valves, and drain connections as well. Do not assume every wet cabinet is a faucet problem.
The faucet's design matters. Compression faucets usually have separate hot and cold handles and commonly use washers. Cartridge, ball, and ceramic-disc faucets may have one handle or two, but their repair parts are not interchangeable. If you are unsure which type you have, remove the aerator or look for a manufacturer name and model number before buying parts.
How to Stop Faucet Leaks Safely
Start by clearing the cabinet below the sink. Place a bucket and towels under the water lines in case a connection drips when you are working. Close the hot and cold shutoff valves by turning them clockwise. Open the faucet afterward to release pressure and confirm that the water is off.
If a shutoff valve will not close fully, do not force it. Older valves can fail, and forcing one may create a larger leak under the sink. In that situation, shut off the home's main water supply if necessary and schedule a repair.
Repair a Leak From the Spout
For many faucets, the repair begins at the handle. The handle screw may be visible, hidden under a decorative cap, or located along the side of the handle. Remove it carefully and keep each part in order as it comes off. Taking a few photos with your phone can make reassembly much easier.
Once the handle is removed, the next part depends on the faucet type. A compression faucet often has a stem that can be removed with a wrench. Inspect the rubber washer at the bottom of the stem and the O-ring around it. A washer that looks flattened, cracked, or hardened should be replaced.
A cartridge faucet has a removable cartridge inside the valve body. Pulling it straight out may require a small cartridge puller, especially if mineral buildup has made it stick. Bring the old cartridge with you when purchasing a replacement. Even similar-looking cartridges can have small differences that prevent the faucet from operating correctly.
For a ceramic-disc faucet, inspect the rubber seals beneath the ceramic cylinder and the cylinder itself for cracks or chips. A damaged ceramic disc typically requires replacement rather than a quick adjustment. Ball-style faucets use several small seals, springs, and a cam assembly, so laying the parts out in order is particularly helpful.
Before installing new components, wipe out mineral deposits and debris inside the faucet body. Avoid scratching metal surfaces. Reassemble the fixture without forcing parts into place, turn the shutoff valves back on slowly, and test both hot and cold water. Check the spout for drips after turning the faucet off.
Stop a Leak Around the Handle or Base
A handle-area leak often occurs when water escapes around a worn O-ring or loose retaining nut. With the water off and handle removed, inspect the retaining nut and the stem or cartridge seals. Tightening a nut slightly may help if it has simply loosened, but do not crank it down. Too much pressure can damage threads, restrict handle movement, or crack plastic components.
If tightening does not solve the problem, replace the O-rings or cartridge. Apply only a small amount of plumber's silicone grease to new rubber O-rings if the manufacturer recommends it. Petroleum-based products can damage some rubber materials.
For leaks at the base of the faucet, remove the faucet body if needed to inspect the mounting gasket and seals. This repair can be more involved because access below the sink is limited and rusted mounting hardware may not release easily. If the countertop, sink deck, or cabinet is already wet or swollen, address the moisture damage along with the leak. Replacing a seal without correcting damaged materials can leave the area vulnerable to mold and continued deterioration.
Check the Parts Around the Faucet
Not every sink leak comes from the faucet itself. After completing a repair, leave the cabinet open and run water for several minutes. Check the supply line connections, shutoff valves, drain trap, and garbage disposal connection if one is present.
Flexible supply lines can develop pinhole leaks or corroded fittings over time. A loose connection may need a careful adjustment, but a damaged or aged line should be replaced. The same applies to a shutoff valve that is difficult to operate, visibly corroded, or leaking around its stem.
Pay attention to when the water appears. A drain leak may only show up while the sink is draining, while a supply-line leak can continue even when the faucet is off. That distinction saves time and helps prevent an incorrect repair.
When a Faucet Repair Needs a Professional
A basic washer or cartridge replacement is manageable for many homeowners with the right tools and a clear match for the replacement part. Still, there are times when a professional repair is the safer and more efficient choice.
Call for help when the shutoff valves do not work, the faucet is heavily corroded, the fixture is loose, or water has damaged the cabinet or countertop. Professional service is also worthwhile when a faucet has been repaired more than once but continues to leak. The issue may be a damaged valve seat, cracked faucet body, failing supply connection, or a problem with water pressure rather than a single worn part.
Replacement may make more sense than repair when an older faucet has recurring issues or replacement parts are no longer available. A new fixture can improve function and appearance, but installation should include secure mounting, properly connected supply lines, and a thorough leak test. Sola Handyman Services can help homeowners address faucet repairs, fixture replacement, and the related cabinet or trim repairs that water damage may leave behind.
Prevent the Next Faucet Leak
Faucets wear out gradually, especially in homes with hard water or frequent use. Turning handles off with excessive force does not create a better seal. It can wear down washers, cartridges, and valve components faster. Close the faucet firmly but gently instead.
Clean aerators periodically to remove sediment that can affect water flow and make a faucet seem less reliable. Check under sink cabinets during routine cleaning, particularly after guests, children, or a recent plumbing repair. A few drops caught early are far easier to manage than a swollen cabinet floor or stained wall.
If a faucet begins dripping again soon after a repair, do not ignore it or keep tightening parts at random. A careful inspection now can protect the sink area, reduce water waste, and keep a small household repair from becoming a larger project later.