How to Fix a Running Toilet and Stop Water Waste
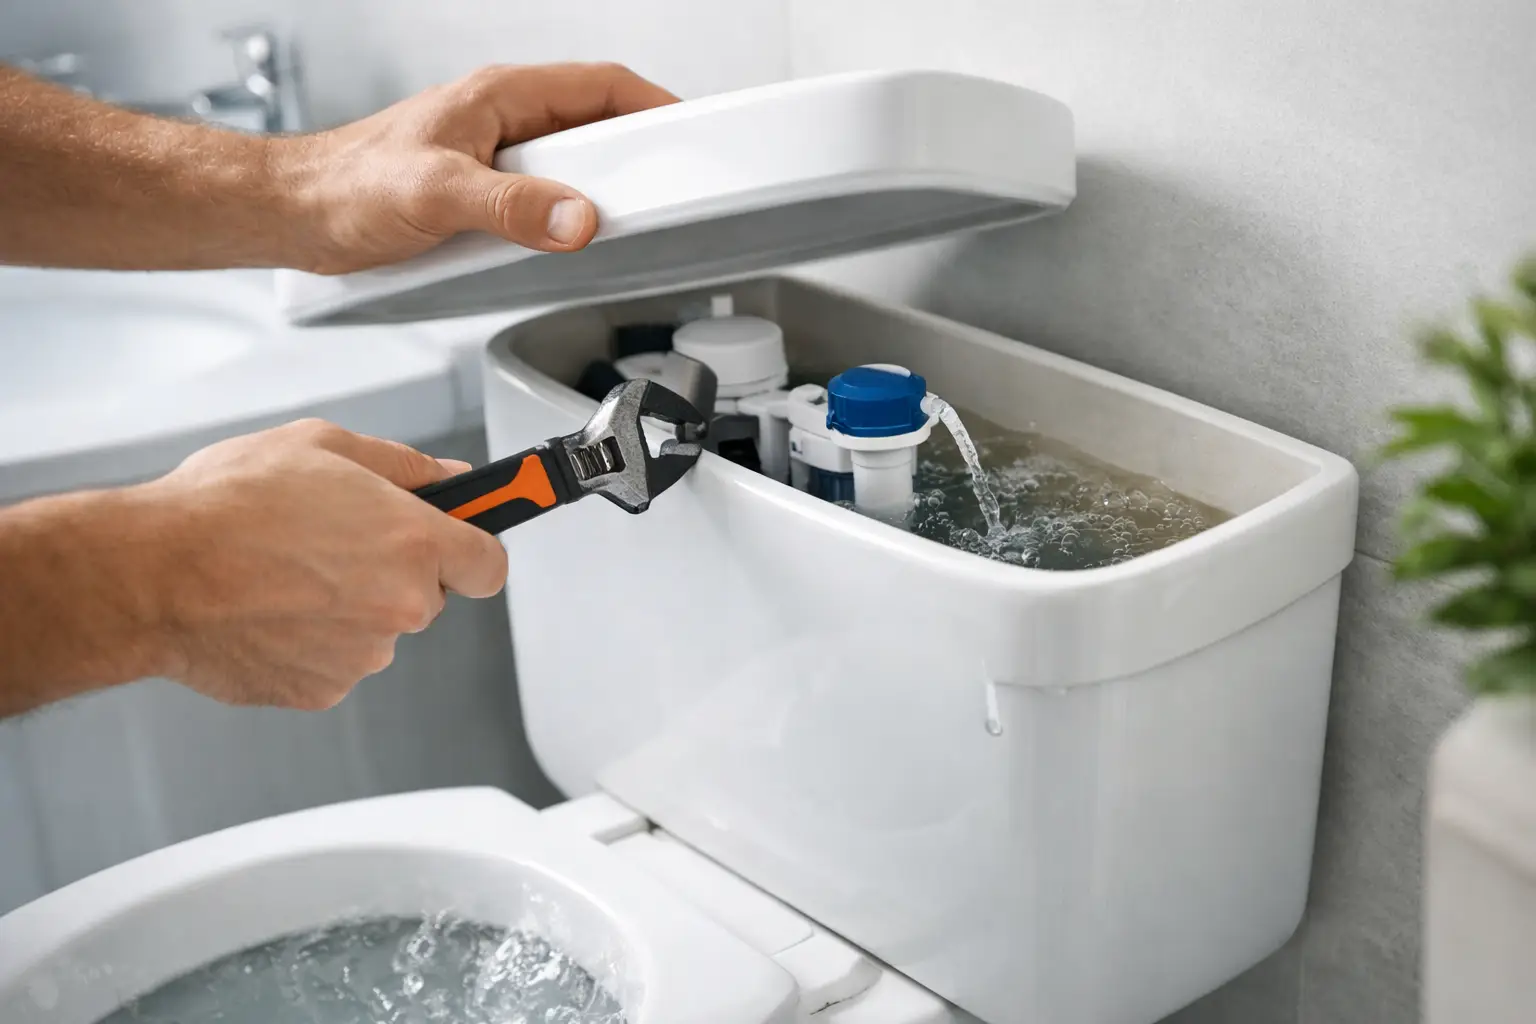
A toilet that refills every few minutes is more than an irritating sound in a quiet house. It can waste a surprising amount of water, raise your utility bill, and point to a worn part inside the tank. Learning how to fix a running toilet starts with identifying where the water is going. In many cases, the repair is straightforward and requires only an inexpensive replacement part.
Before taking anything apart, remove the tank lid and set it somewhere safe. Porcelain lids chip and crack easily. Then flush once and watch how the tank refills. What happens after that flush usually tells you whether the problem is the flapper, chain, fill valve, or overflow tube.
What Causes a Toilet to Keep Running?
A toilet runs when water continues moving from the supply line into the tank, from the tank into the bowl, or both. Most residential toilets rely on a few simple components that work together: the fill valve refills the tank, the flapper holds water in the tank until you flush, and the overflow tube prevents overfilling.
The most common issue is a flapper that no longer seals tightly against the flush valve opening. Rubber flappers can become warped, stiff, coated with mineral buildup, or damaged over time. When the seal fails, water slowly leaks into the bowl. The fill valve senses the lower water level and turns on again to replace it.
A fill valve can also fail to shut off correctly. In that situation, the tank water level may rise too high and spill into the overflow tube. The toilet may run continuously, rather than cycling on and off every several minutes.
How to Fix a Running Toilet: Find the Source First
Start by determining whether water is leaking into the bowl or overflowing inside the tank. This prevents replacing a part that is still working properly.
Look inside the tank without flushing. If water is flowing into the open top of the overflow tube, the water level is too high or the fill valve is malfunctioning. If the water level sits below the top of the tube but the toilet occasionally refills on its own, suspect the flapper.
For a clearer flapper test, add a few drops of food coloring to the tank water. Do not flush. Wait 15 to 20 minutes, then check the bowl. If colored water appears in the bowl, water is leaking past the flapper or flush valve seat.
You will usually need a sponge or towel, an adjustable wrench, a small cup, and possibly a new flapper or fill valve. Turn off the shutoff valve behind or beside the toilet before replacing any internal part. Flush the toilet to empty the tank, then use a sponge to remove the remaining water from the bottom.
Inspect and Adjust the Flapper Chain
The flapper chain should have a little slack when the toilet is not being flushed. If the chain is too short, it can hold the flapper slightly open and allow water to leak into the bowl. Move the chain hook down one link at a time until the flapper rests flat.
Too much slack can create a different problem: the flapper may not lift fully during a flush. The goal is enough movement for a reliable flush without tension that prevents a complete seal.
Also inspect the flapper itself. Lift it and look for cracks, rough edges, discoloration, or a misshapen rubber surface. Wipe away any debris around the flapper and the circular flush valve seat it rests on. A small amount of sediment can be enough to break the seal.
Replace a Worn Flapper
If cleaning and chain adjustment do not stop the leak, replace the flapper. This is often the fastest answer to a toilet that refills at random throughout the day.
Take the old flapper to a hardware store if possible, or note the toilet brand and the size of the flush valve opening. Many toilets use a standard 2-inch flapper, but some newer or high-efficiency models use a 3-inch part or a model-specific design. A flapper that looks close but does not fit correctly can continue leaking.
To install the replacement, unhook the chain from the flush lever arm, remove the old flapper from the mounting tabs or ears at the base of the overflow tube, and attach the new one in the same position. Connect the chain with slight slack, turn the water back on, and flush several times to check its operation.
Adjust the Fill Valve When Water Is Too High
If water is entering the overflow tube, the fill valve needs attention. The correct tank water level is usually marked by a line inside the tank. It should sit about an inch below the top of the overflow tube. If it rises above that point, water drains into the tube and the fill valve may keep running.
Many modern fill valves have an adjustment screw or sliding clip. Turning the screw clockwise commonly lowers the water level, though designs vary. Make a small adjustment, let the tank refill, and check the level again. Do not set the level too low, since that can weaken flushing performance.
Check the small refill tube as well. It should be clipped to the top of the overflow tube, not pushed down inside it. If the tube is inserted too far into the overflow pipe, it can create a siphoning effect that pulls water out of the tank after it fills.
When to Replace the Fill Valve
A fill valve that hisses, refills slowly, fails to stop, or continues allowing water into the overflow tube after adjustment may be worn out. Mineral deposits and normal wear can affect its internal seal and float mechanism.
Replacing a fill valve is a manageable repair, but it requires working underneath the tank. After shutting off the water and emptying the tank, disconnect the supply line from the bottom of the tank. Remove the retaining nut, lift out the old valve, and install the new valve according to its height instructions. The new valve must be set to the correct height for the tank before tightening the nut.
Avoid overtightening plastic fittings. Snug is usually enough. After reconnecting the water line, turn the shutoff valve on slowly and inspect for drips around the supply connection and tank base. If the shutoff valve itself will not close or begins leaking, stop there and arrange for repair rather than forcing it.
Check for Less Obvious Problems
Not every running toilet is caused by a simple flapper or fill valve issue. Older toilets may have a cracked overflow tube, a damaged flush valve seat, corroded hardware, or mineral buildup that prevents a proper seal. Some toilets use canister-style flush valves instead of traditional flappers, and those require the correct replacement seal.
If you have replaced the flapper but colored water still enters the bowl, inspect the flush valve seat for chips or pitting. A rough or cracked seat will not seal reliably, even with a new flapper. Repairing that issue may involve replacing the flush valve assembly, which means removing the tank from the bowl.
A toilet that runs only after certain flushes can also indicate an intermittent chain or handle problem. Watch the flush lever as you use it. If it sticks, does not return fully, or catches on the tank lid, the flapper may remain open longer than it should.
When It Makes Sense to Call a Professional
A basic adjustment or flapper replacement is often worth trying. Call for professional help when the repair involves removing the tank, replacing a flush valve, correcting a leaking shutoff valve, or addressing damage around the toilet base. Water at the base of the toilet is not always related to a running toilet and can signal a failed wax ring, loose mounting bolts, or a crack in the porcelain.
Homeowners in Tallahassee, Marianna, Dothan, and surrounding communities can count on Sola Handyman Services for practical toilet repairs and broader home maintenance needs. A repair completed correctly can stop water waste now and help you avoid a larger bathroom problem later.